docker部署奇迹mu
OpenMU是一个开源mu,基于第六季第三集版本。
项目地址:MUnique/OpenMU
文件准备
https://pan.quark.cn/s/be8934e9d491
下载MUS6E3.exe,这是英文原版客户端。
https://pan.quark.cn/s/e1b7be923f6f
中文版客户端。
下载https://github.com/MUnique/OpenMU/archive/refs/heads/master.zip ,解压,在飞牛上建立openmu文件夹,把deploy/all-in-one文件夹下的内容复制进去。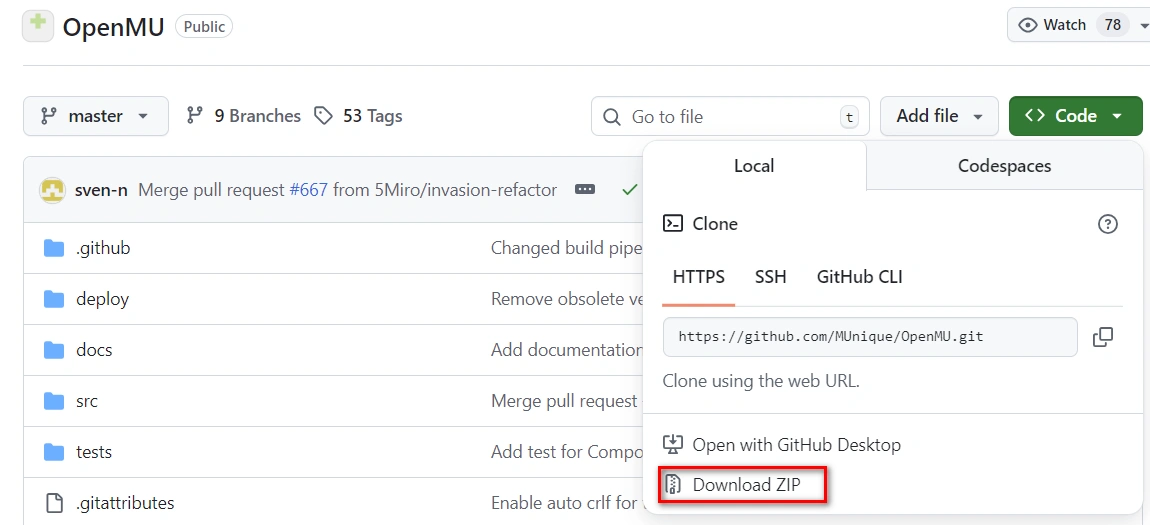
下载https://github.com/MUnique/OpenMU/releases/download/v0.8.17/MUnique.OpenMU.ClientLauncher_0.8.17.zip
构建服务端
浏览器打开飞牛,登录。打开docker,Compose,新增项目,
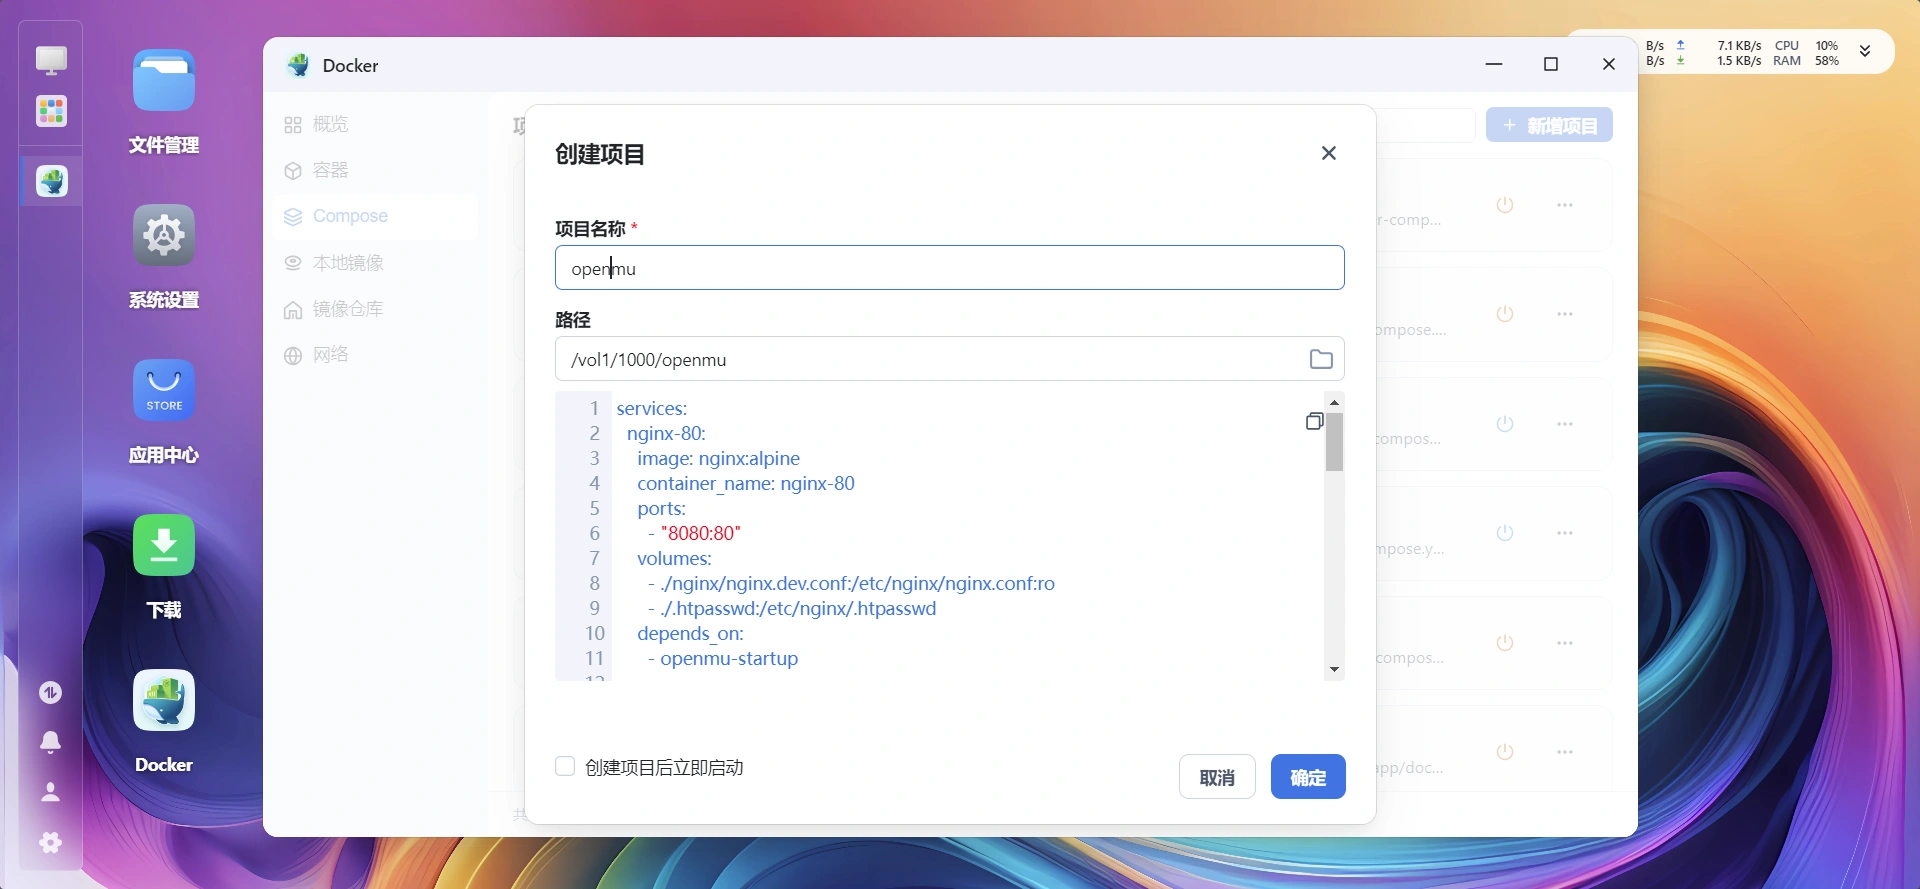
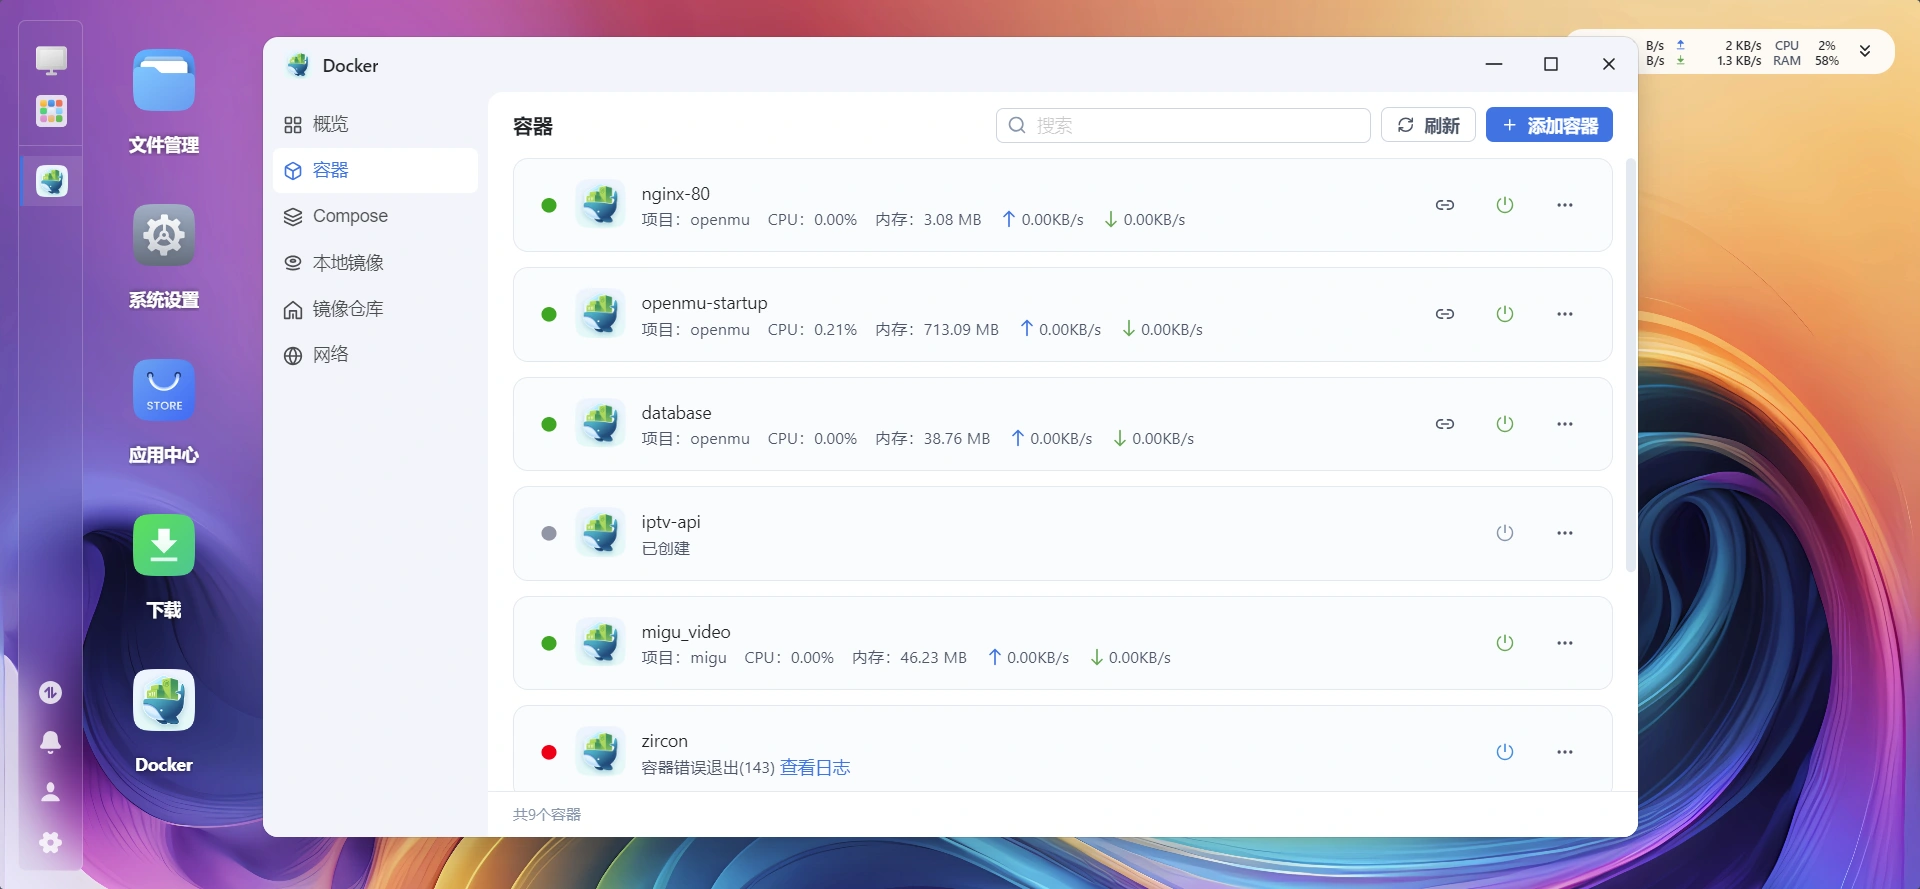
项目名称:openmu,路径是刚才的openmu文件夹,提示已有compose.yml,点确定,把compose中的端口改成没使用的端口,比如8080,确定之后点构建。等一段时间,点左侧的容器,发现已启动三个服务,nginx-80,openmu-startup,database。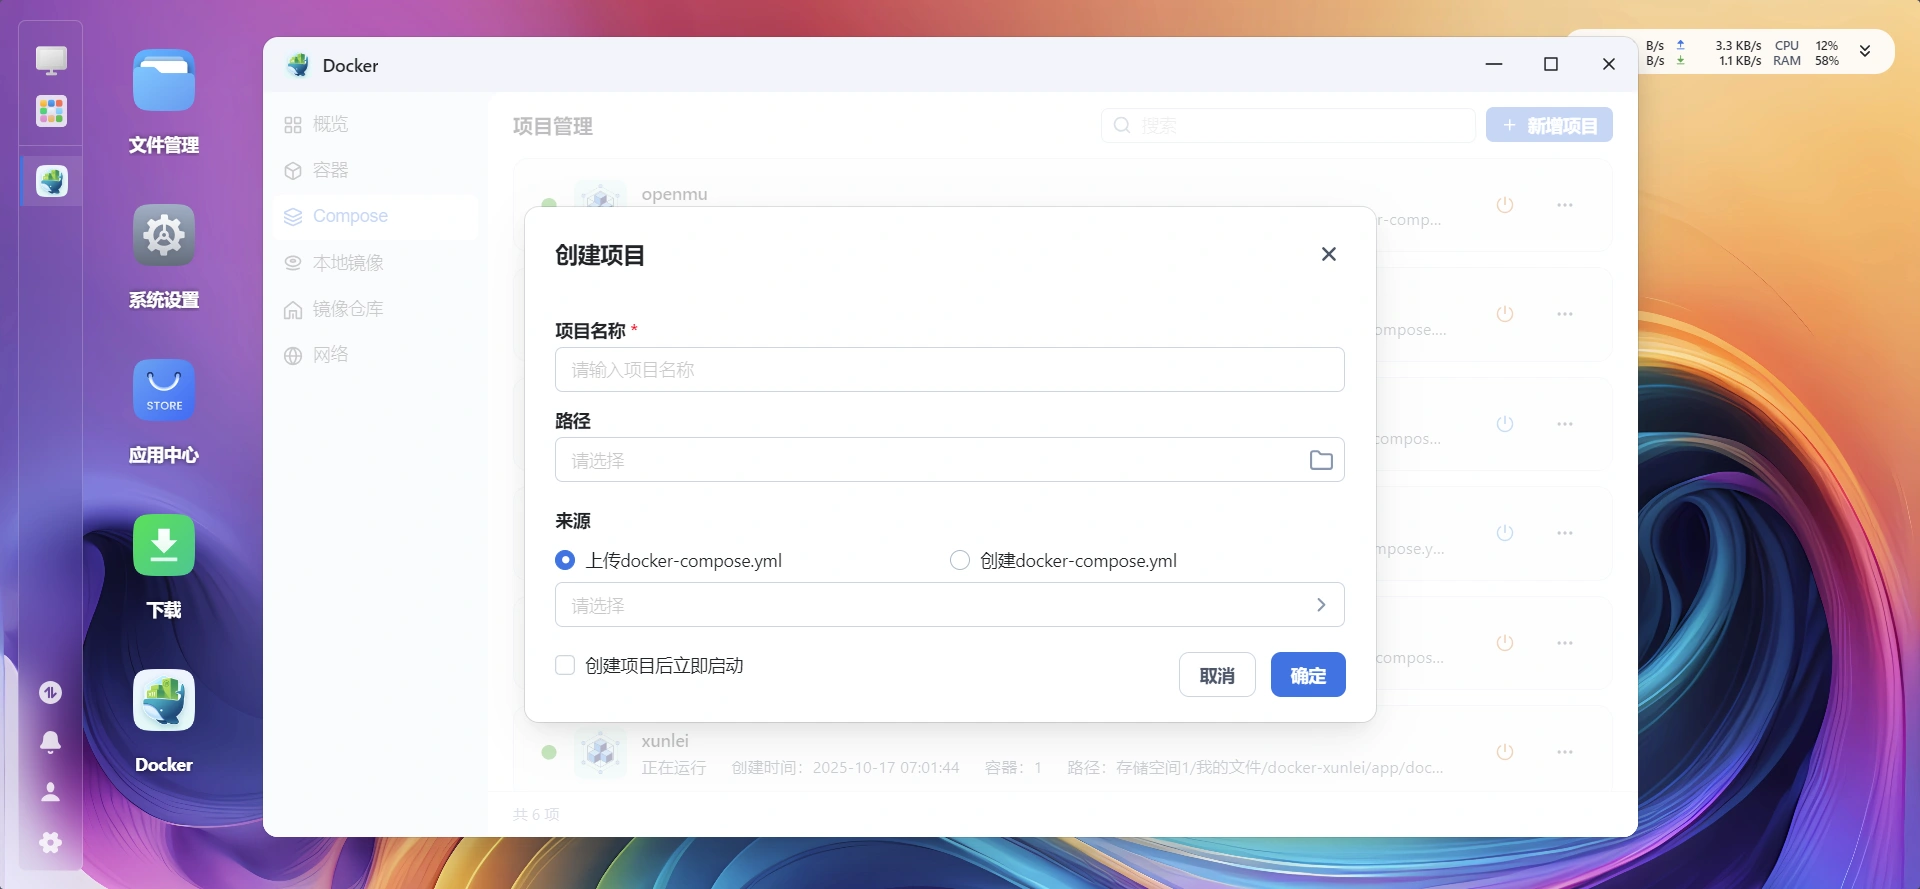
点openmu-startup后面快捷访问中,对应8080端口的链接,打开后台,这里是http://192.168.0.4:32771/
帐号admin,密码openmu。
打开accounts,建立游戏帐号。
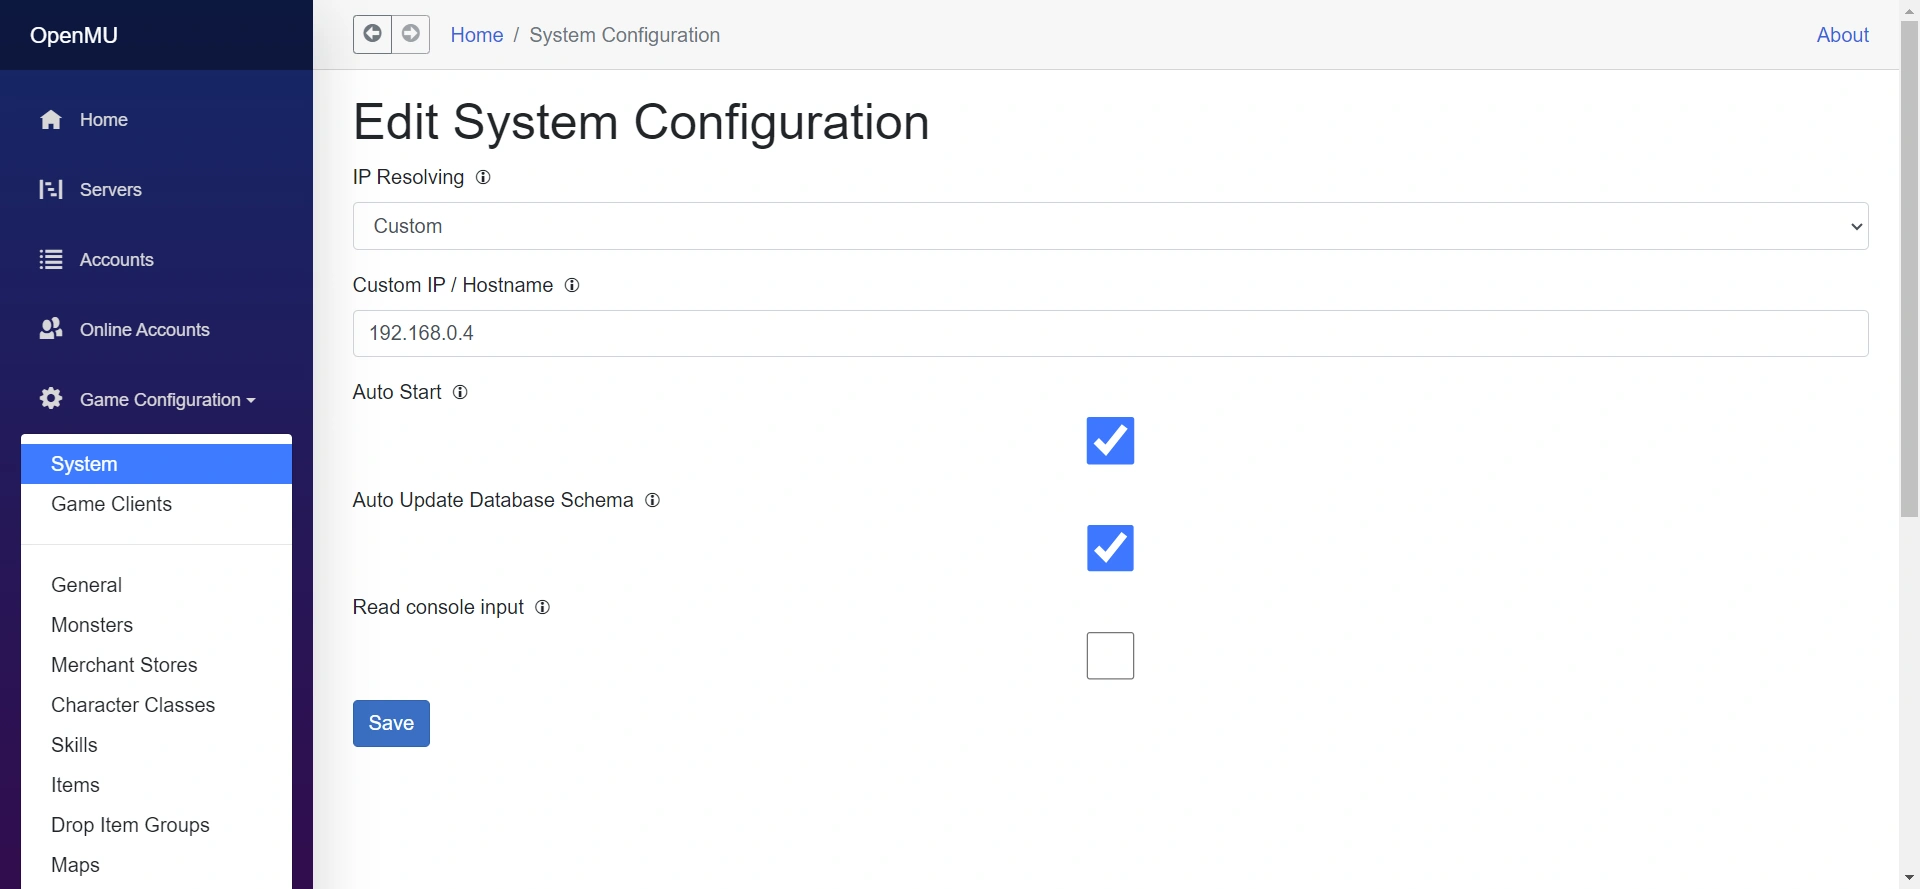
打开game configuration-system,把ip修改成飞牛对应ip,这里是192.168.0.4,点save。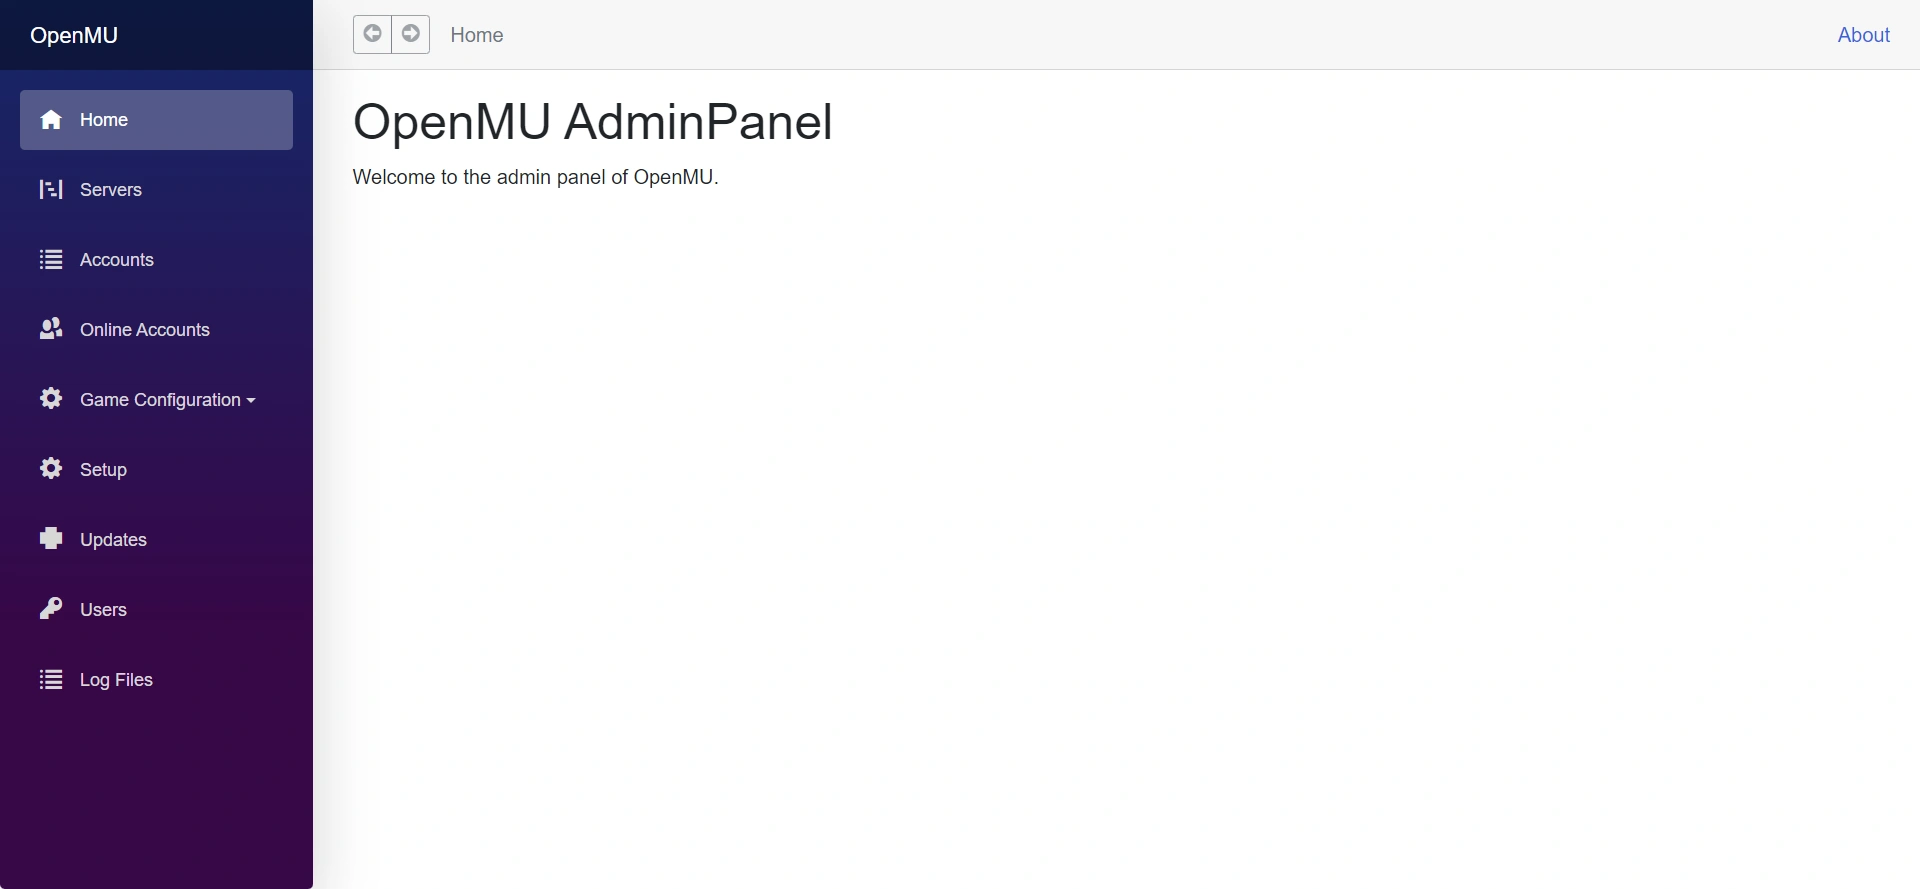

客户端
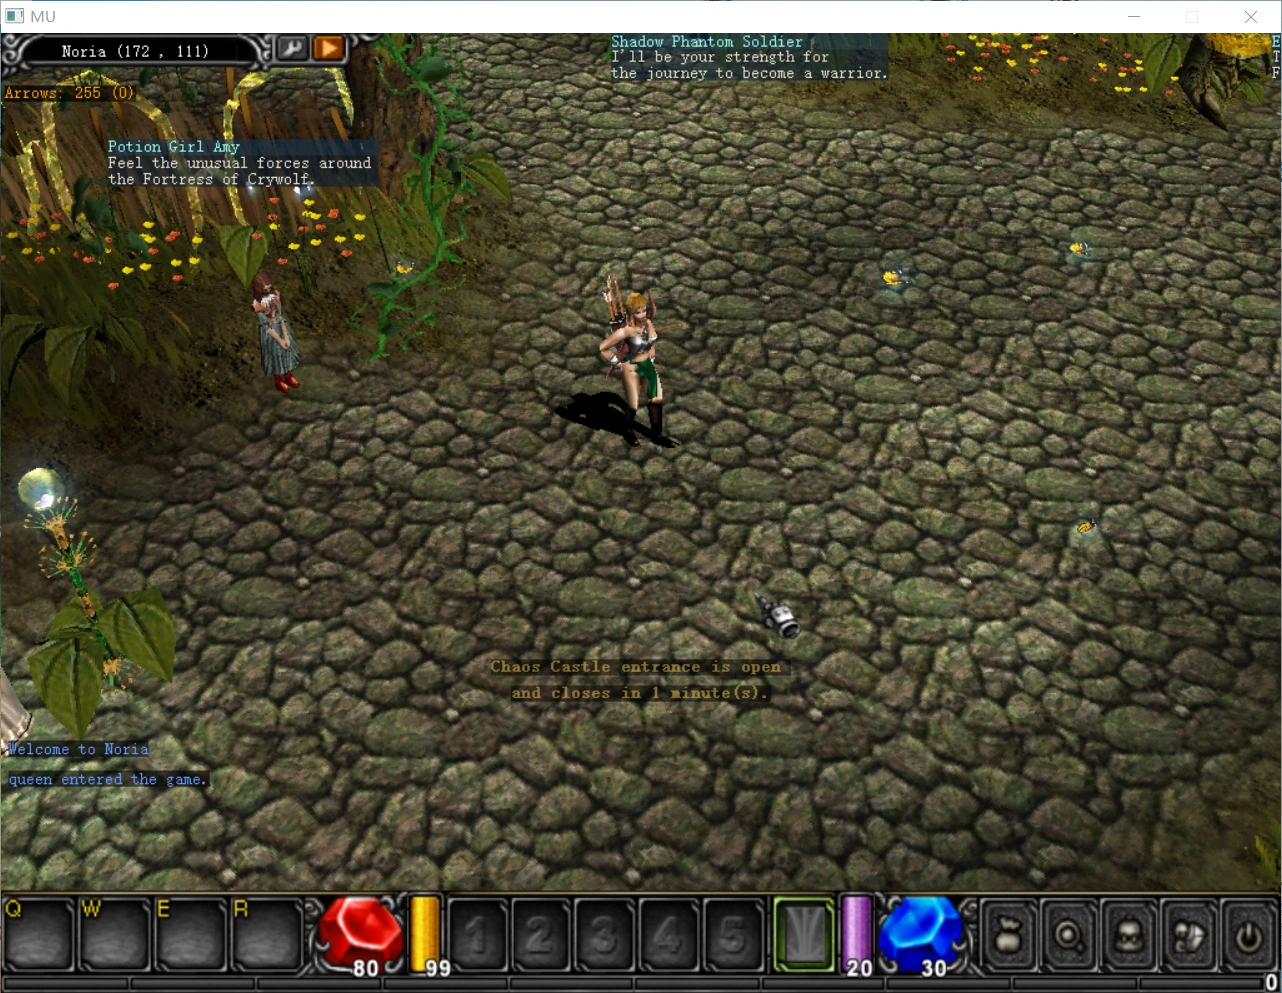
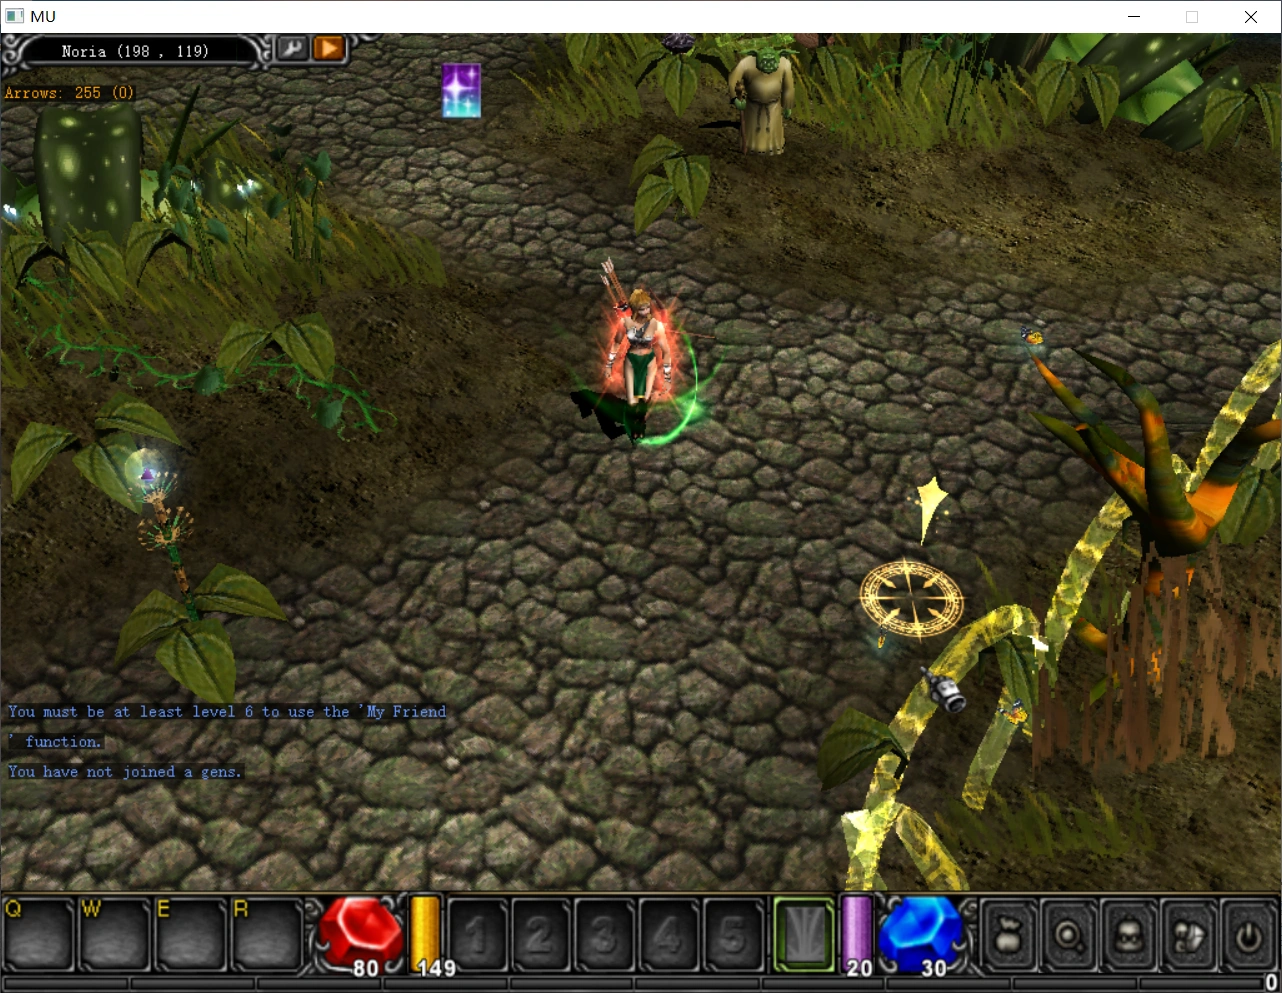
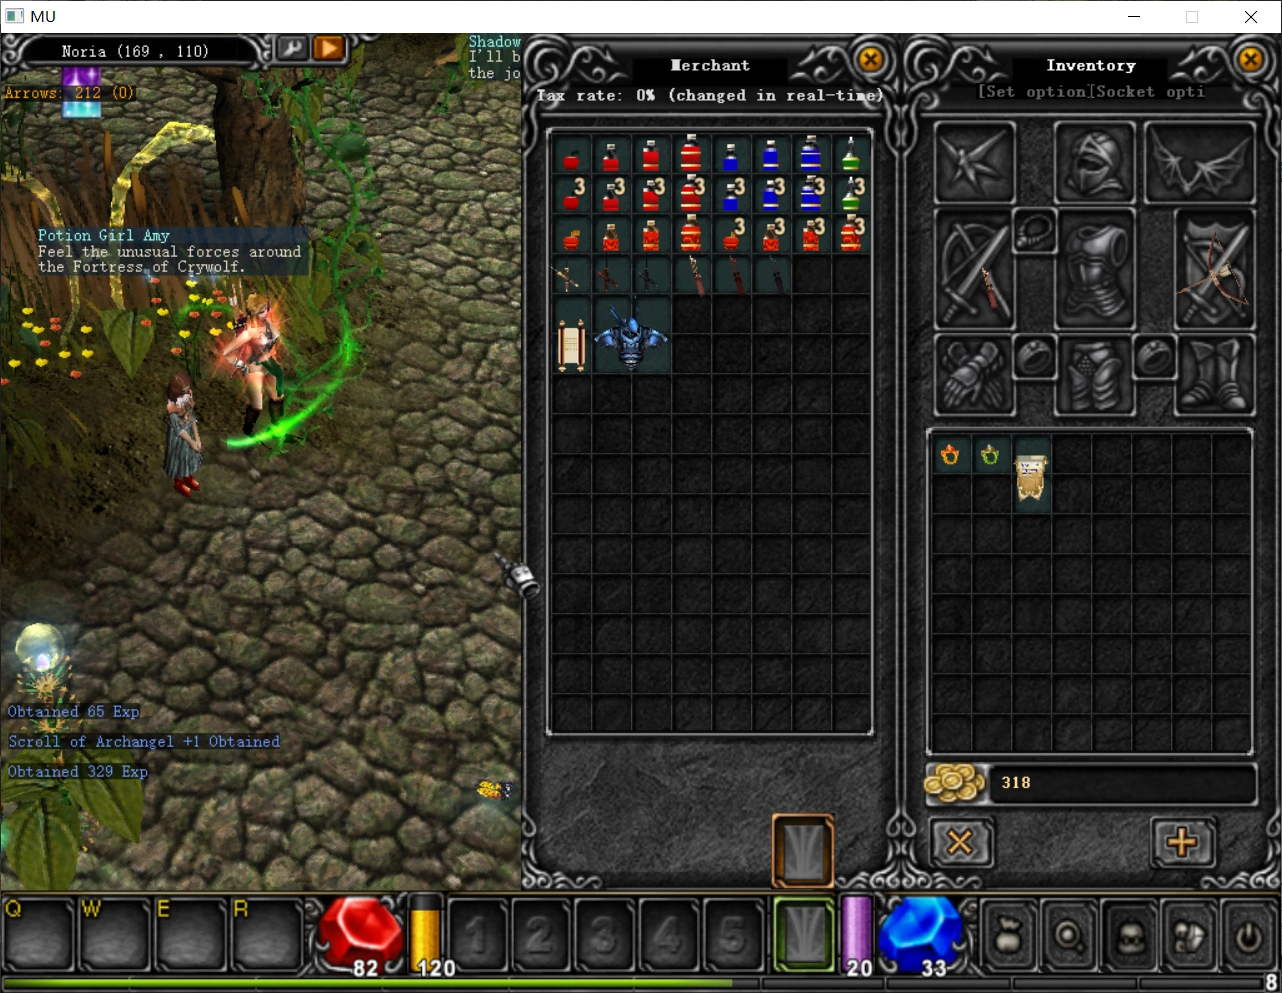
解压客户端,安装windowsdesktop-runtime-9.0.5-win-x64.exe,再打开MUnique.OpenMU.ClientLauncher.exe,设置服务器ip为192.168.0.4,点Launcher Client,进入游戏。
由于自带的MUnique.OpenMU.ClientLauncher.exe打不开,用MUnique.OpenMU.ClientLauncher_0.8.17.zip中的文件替代。
也可直接修改launcher.config内容为
1 |
|